A broken garage-door torsion spring is not a minor hardware failure. It is a stored-energy hazard above a heavy moving door. When the spring snaps, the door may drop suddenly, cables can loosen, and metal parts may shift without warning. The danger becomes greater when someone uses the wrong winding bar, loosens a set screw, or works beneath an unsupported door.
So, how should a homeowner respond? The key question is: “How to replace a broken torsion spring safely?” This 2026 guide follows practical service experience, manufacturer instructions, and established industry guidance. The U.S. Consumer Product Safety Commission’s injury surveillance data continues to document garage-door incidents involving doors, openers, and related components. DASMA technical publications also emphasize correct spring sizing, secure support, and controlled adjustment. These sources reinforce one point. Improvisation is risky.
A qualified garage-door technician normally identifies the spring’s wire size, inside diameter, length, winding direction, and door weight before replacement. They also inspect cables, drums, bearings, brackets, and the opener. A spring that looks similar may still produce the wrong lifting force. That mistake can damage the door or cause another failure. Wear eye protection. Keep children, pets, and vehicles away. Disconnecting the opener is helpful, but it does not remove spring tension. Honestly, many online tutorials make this repair look easier than it feels in a real garage. Safe work requires measured tools, stable supports, and disciplined procedures. If any step feels uncertain, stop and arrange professional service.
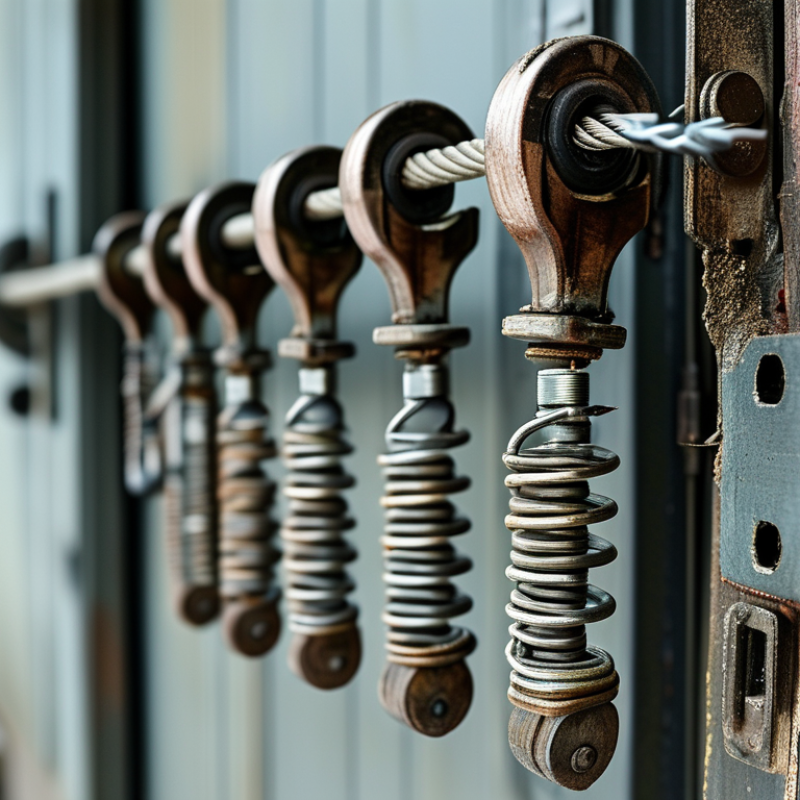
Before any replacement, identify the torsion spring system. A torsion spring sits on a steel shaft above the door opening. It may use one spring or two, depending on door weight and design. Look for a visible gap between coils, a split near the winding cone, loose cables, or a door that suddenly feels extremely heavy. Do not touch the cones, shaft, or set screws. Stored energy remains dangerous, even when the spring appears broken.
Confirm the failure before blaming the spring. A damaged cable, bent track, worn bearing, or opener problem can create similar symptoms. The U.S. Consumer Product Safety Commission’s NEISS program collects injury data from about 100 hospitals and produces national estimates, not a complete case count. That limitation matters. Garage-door injuries are often underreported outside emergency departments. DASMA Technical Data Sheet 102 also treats spring systems as high-tension components requiring controlled handling and correct matching.
Keep the door fully closed if possible. Do not pull the emergency release while the door is raised or unstable. Photograph the shaft, spring location, cable position, and warning labels from a safe distance. Record the door height, approximate width, and spring count, but do not measure a loaded spring. A spring can look intact and still be unsafe. This is where judgment gets imperfect. If the failure is not visually clear, stop and have a qualified technician verify the system before replacement.
| Step | Inspection Dimension | What to Identify or Measure | Typical Finding | Interpretation | Recommended Action | Safety Status |
|---|---|---|---|---|---|---|
| 1 | Door position | Observe whether the garage door is fully closed, partially open, or raised. | The door is difficult to lift manually, rises unevenly, or will not stay open. | A failed spring may no longer counterbalance the door's weight. | Keep people, vehicles, and pets away from the door. Do not operate it repeatedly. | Stop operation |
| 2 | Spring system type | Look above the closed door for one or more tightly wound springs mounted on a horizontal shaft. | One or two coils are positioned above the door, with cones and drums near the ends. | This is a torsion-spring counterbalance system. It differs from extension springs mounted beside the horizontal tracks. | Do not confuse torsion springs with extension springs; the inspection and replacement procedures are different. | Confirm system |
| 3 | Visible spring separation | With the door closed, inspect the coil from a safe distance using a flashlight if needed. | A visible gap appears in the coil, commonly near the stationary cone or between adjacent coils. | A separated coil is a strong visual indicator that the spring has fractured. | Do not touch the spring, cones, shaft, cables, or winding components. | High hazard |
| 4 | Spring condition | Check only visually for severe rust, stretched coils, deformation, or a spring displaced from its normal position. | Heavy corrosion, distorted coils, or an unusual gap is visible. | Corrosion and deformation can reduce spring strength and may indicate an unsafe assembly. | Arrange professional inspection. Do not apply lubricant or attempt to straighten the spring. | Do not adjust |
| 5 | Lift-cable condition | Inspect both vertical lift cables without placing hands near drums or cable paths. | A cable is loose, off the drum, frayed, or hanging differently from the opposite side. | A broken spring can cause cable slack, but cable failure or drum problems may also be involved. | Do not pull, re-seat, cut, or tension the cable. Keep the door closed and call a qualified technician. | High hazard |
| 6 | Door balance test | Only if the door is already closed and the lifting mechanism can be safely disengaged by a qualified person, assess whether the door is balanced. | The door feels exceptionally heavy or cannot be lifted smoothly. | The counterbalance system may not be supporting the door correctly. | Do not perform a manual lift test if cables are loose, the door is damaged, or the person is not trained. | Professional assessment |
| 7 | Opener symptoms | Note whether the automatic opener hums, reverses, strains, or stops during operation. | The opener operates briefly but the door does not rise, or the motor strains. | An opener is not designed to compensate for a broken counterbalance spring; continued use can damage it. | Disconnect normal operation according to the opener's safety instructions and leave the door closed. | Do not cycle |
| 8 | Spring identification data | Record the number of springs, approximate coil length, inside diameter, wire diameter, winding direction, and stationary-end arrangement. | Measurements are available from the unmodified spring while the door is closed. | Correct replacement depends on the complete spring specification and the door's weight and dimensions. | Do not rely on color, appearance, or a single measurement. Have a professional verify the specifications. | Verify before ordering |
| 9 | Other possible causes | Consider damaged rollers, seized hinges, bent tracks, worn bearings, loose drums, or a defective opener. | The spring appears intact, but the door remains noisy, crooked, stiff, or uneven. | Not every door problem is caused by a broken torsion spring. | Stop troubleshooting if any component is bent, loose, or under tension; request a complete system inspection. | Diagnose fully |
| 10 | Replacement decision | Confirm the spring failure and review the condition of cables, drums, bearings, plates, tracks, rollers, and the opener. | The spring is visibly broken or the system has multiple damaged components. | Replacing only one component may leave an unsafe or unbalanced door system. | Use a qualified garage-door professional for spring unloading, replacement, adjustment, and final balance testing. | Professional service |
: Look for separated coils, a visible split, loose cables, or a suddenly heavy door. The spring may still appear intact. Other parts can cause similar symptoms.
Close the door fully, disconnect the opener, and keep people, pets, and vehicles away. Do not touch the spring, shaft, cones, or set screws.
Avoid it if the door is unstable or partially open. The door may fall suddenly without opener support. Keep it closed whenever possible.
A technician should inspect the cables, tracks, bearings, shaft, and opener. Photograph the system from a safe distance. Do not measure a loaded spring.
Trained technicians use correctly sized winding bars. Screwdrivers and improvised tools can slip or break. That is a bad shortcut.
Wear eye protection and sturdy gloves. Stand beside the winding cone, not directly in front. Keep one winding bar fully seated during controlled movements.
Match the wire diameter, inside diameter, relaxed length, winding direction, and door weight. Spring color alone is unreliable. Measure carefully.
A technician should inspect the shaft, cables, drums, bearings, and brackets. With the opener disconnected, the door should stay near mid-height. It should lift smoothly and remain level.
Stop if the shaft bends, cables fray, bars feel unstable, or the door moves unexpectedly. Uncertainty is a warning. Hesitation is safer than guessing.
This guide explains How to replace a broken torsion spring safely? by following a careful, step-by-step process. First, identify the garage door’s torsion spring system and confirm that the spring is actually broken rather than facing another mechanical issue. Prepare the workspace by disconnecting power, clearing the area, securing the door, and wearing suitable safety equipment. Because torsion springs store significant energy, releasing that tension requires the correct tools, controlled movements, and strict attention to safety procedures.
After the tension has been fully released, remove the damaged spring and inspect related components for wear or deformation. Install a replacement spring that matches the original specifications, ensuring all hardware is positioned correctly and securely tightened. Finally, test the door balance and movement gradually, make careful adjustments only when necessary, and verify that the door opens, closes, and remains stable without unusual noise or resistance. If any step is unclear or the equipment is damaged, consult a qualified garage door technician instead of taking unnecessary risks.

 Labor Door