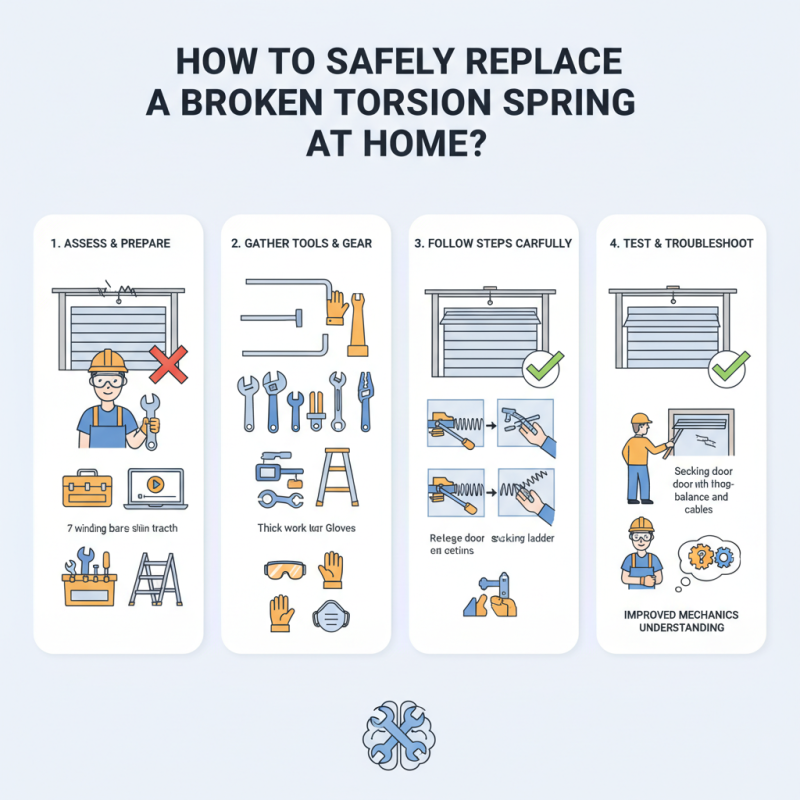
When dealing with a broken garage door, a common issue arises: "How to replace a broken torsion spring safely?" This task can seem daunting, especially for those without experience. However, with the right knowledge and precautions, it is achievable. Torsion springs bear a lot of weight, and a sudden release can be dangerous. The potential for injury looms if safety measures are neglected.
Understanding the tools and steps required is essential. Using the correct tools ensures precision and safety. It's crucial to assess the situation carefully before proceeding. This may take longer for beginners, but haste can lead to mistakes. Watching instructional videos is helpful, but they cannot replace firsthand experience. The importance of safety equipment, like goggles and gloves, cannot be understated. Without using proper protective gear, you increase your risk of injury.
Mistakes can happen even with careful planning. You might find that the spring isn’t the only issue with your garage door. Always remain adaptable and ready to troubleshoot additional problems. Taking the time to reflect on your process will enhance your skills. By addressing these elements, you not only replace the torsion spring but also improve your overall understanding of garage door mechanics.
Understanding Torsion Springs and Their Function in Garage Doors
Torsion springs play a critical role in the functionality of garage doors. These coiled metal springs are located above the door. They create tension that helps lift and lower the door smoothly. When a torsion spring breaks, the door may become heavy or even inaccessible. Understanding how these springs work can help homeowners manage such situations more effectively.
The mechanism relies on the stretch and compression of the spring. As the door opens, the spring unwinds; when the door closes, it winds back up. Regular inspection of these springs is essential. Look for any signs of wear or damage. This can help prevent sudden failures. If you notice anything unusual, it’s wise to consult a professional. Replacing a torsion spring can be dangerous if not done properly.
Moreover, working with torsion springs is not without risks. They are tightly wound under high tension. Even experienced DIYers can face challenges during replacement. Homeowners should take precautions. If unsure, hiring a trained technician is the safer choice. This ensures the job is done correctly and minimizes the risk of injury.
Identifying Signs of a Broken Torsion Spring in Your Garage Door
A broken torsion spring can dramatically affect your garage door's function.
Identifying the signs early can save you from additional damage.
One telltale sign is if your garage door won’t open or close correctly.
You may notice it struggles to move or makes unusual sounds.
These signs often indicate a torsion spring issue.
Another indicator is the presence of gaps in the spring.
When you inspect the spring, look for any visible breaks or abnormalities.
The door itself may also appear unbalanced.
It might tilt to one side or hang unevenly.
Pay attention to how the door moves—it should glide smoothly.
Finally, observe the overall wear and tear of your garage door system.
Rust, corrosion, or excessive grease buildup can lead to torsion spring failure.
Monitor these factors regularly to avoid sudden spring snapping.
Addressing these signs promptly can help maintain your garage door's safety and functionality.
Remember, repairs can be challenging and require some skill.
Evaluate your comfort level before attempting any fixes.
Gathering Necessary Tools and Safety Equipment for Replacement
Replacing a torsion spring can be a daunting task. However, gathering the right tools and safety equipment is crucial for a successful process. Start by collecting essential items. You will need a socket set, wrenches, and a measuring tape. A sturdy ladder can help you reach high garage doors easily. Don’t forget safety goggles and gloves. Protecting your eyes and hands should be your top priority.
Before beginning, inspect the workspace. Ensure there is enough room to maneuver safely. Clear away any clutter that could pose a hazard. It's often overlooked, but a clean workspace prevents accidents. Also, consider using a sturdy door or wall mount to stabilize the spring safely. This helps avoid injuries. Lastly, remember that a partner can assist greatly. They can help hold tools or provide extra support when tensioning the new spring. It’s important to communicate effectively during the process.
How to Safely Replace a Broken Torsion Spring at Home? - Gathering Necessary Tools and Safety Equipment for Replacement
| Tool/Equipment |
Purpose |
Safety Note |
| Wrench Set |
To loosen/tighten bolts on the spring assembly |
Ensure proper size to avoid stripping |
| Safety Glasses |
To protect eyes from debris |
Always wear when working |
| Clamp |
To hold the garage door in place |
Use strong, adjustable clamps |
| Torque Wrench |
To accurately set tension |
Avoid over-tightening |
| Measuring Tape |
To measure spring length |
Ensure accurate measurements |
| Gloves |
To protect hands from sharp edges |
Use cut-resistant gloves |
Step-by-Step Guide to Removing the Broken Torsion Spring
Replacing a broken torsion spring can be daunting. However, a careful approach can make this task manageable. Start by ensuring your garage door is closed and disconnected from any power source. Gather essential tools like a socket wrench, pliers, and a sturdy ladder. Confirm all safety precautions are in place. If any part of this process feels beyond your skill level, consider seeking professional help.
Begin by removing the end caps and tension from the spring. It's crucial to relieve pressure before attempting to take it out. Carefully unwind the spring, watching for any sudden movements. Stability is key—ensure your ladder is secure. Remove the broken spring completely, taking note of any parts that might need replacement. Some people find themselves confused about reassembly, which can lead to mistakes.
Once the old spring is removed, install the new one with the correct tension. Pay close attention to the alignment of the spring on the shaft. Follow guides or tutorials for additional details, but remember that real-life scenarios may differ from what you see online. If you miscalculate the tension or installation, it could create further issues. Be patient, and double-check every step. Adjustments are often required along the way.
Spring Replacement Time Analysis
Installing the New Torsion Spring Safely and Effectively
When replacing a broken torsion spring, safety is crucial. According to industry reports, over 30,000 injuries occur annually due to mishandling garage door mechanisms. Therefore, understanding the installation process makes a significant difference. Start by collecting the necessary tools such as a socket wrench, winding bars, and safety glasses. Wearing gloves protects your hands as you work with high-tension springs.
When you're ready to install, disconnect the garage door opener and release the tension on the old spring carefully. Use winding bars to manage the tension; this reduces the risk of sudden release. Remember, a twisted spring can cause serious injuries and property damage. In recent safety studies, it was revealed that properly installed springs last up to 20,000 cycles, whereas poorly handled ones may fail in under 5,000 cycles. Keeping the workspace clear enhances focus and minimizes distractions.
After installing the new spring, double-check the tension. Check that the garage door opens smoothly without any hitches. Proper alignment is essential, as uneven tension can cause the door to malfunction. Regular maintenance and inspections extend the lifespan of your new spring. Engage in periodic checks to ensure it's working optimally. This proactive approach mitigates potential hazards and prolongs the lifespan of your garage door system.
FAQS
: You need a socket set, wrenches, measuring tape, and winding bars.
Safety goggles and gloves protect your eyes and hands from injuries.
Clear away clutter and ensure enough room to maneuver safely.
Inspect the workspace and ensure proper tools are on hand.
Carefully release tension using winding bars to avoid sudden release.
An improperly installed spring can fail quickly and cause injuries.
Make sure the garage door opens smoothly and check for proper alignment.
Regular checks are essential; periodic maintenance extends its lifespan.
Yes, a partner can assist by holding tools and providing support.
Neglecting to stabilize the spring can lead to accidents and injuries.
Conclusion
Replacing a broken torsion spring in your garage door can seem daunting, but understanding its function is crucial for a successful repair. Torsion springs are responsible for lifting the heavy door, and recognizing the signs of a broken spring, such as difficulty opening the door or unusual noises, is the first step. To ensure a safe replacement, gather the necessary tools and safety equipment before proceeding.
To answer the question, "How to replace a broken torsion spring safely?" follow a step-by-step guide. Begin by carefully removing the broken spring, ensuring you follow safety protocols to avoid injury. Once the old spring is removed, you can install the new torsion spring by securing it properly and testing the door for functionality. By following these outlined steps, you can effectively and safely replace a broken torsion spring at home.

 Labor Door